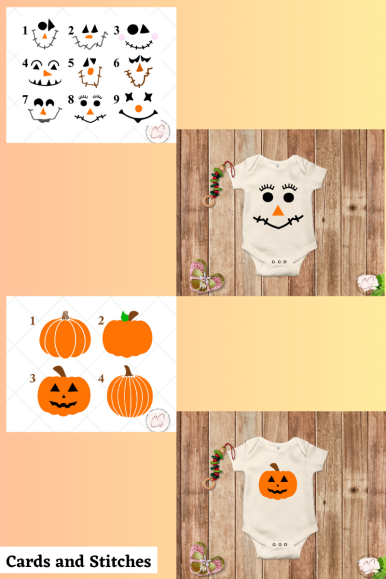
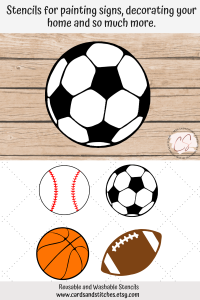
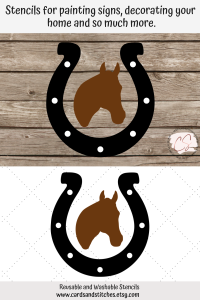
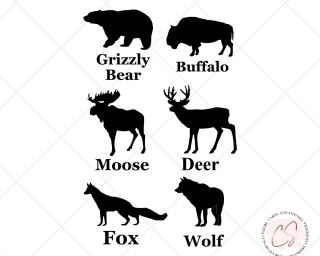
Here’s some fun projects to make with your family or friends using these Animals Reusable Stencils! When you see all the possibilities, you’ll find more and more projects you can make!
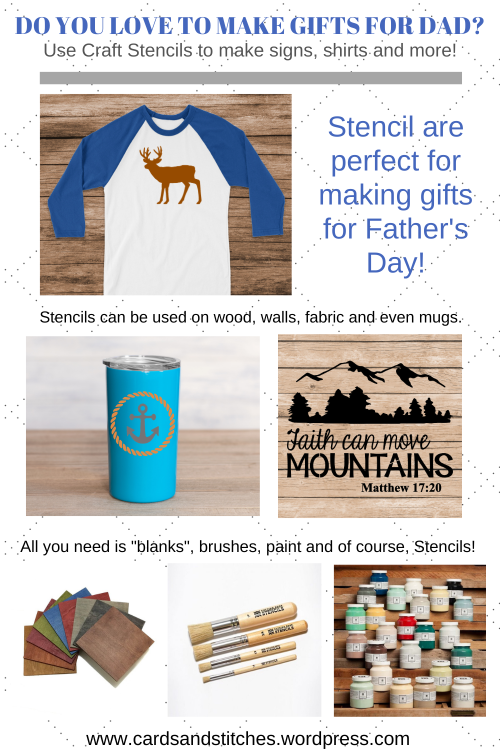
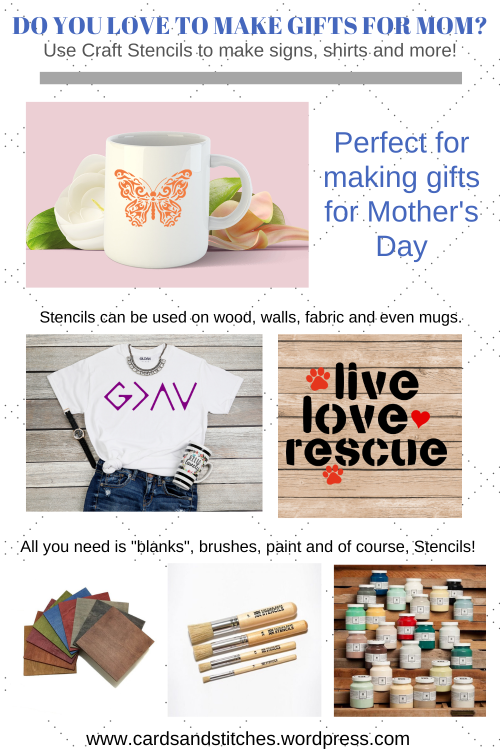
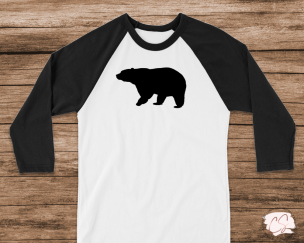
Shopping your local craft or dollar store to find some “blanks” including canvas or wood boards for signs, t-shirts, mugs and even cardstock for making cards!
You will also need:
Painters Tape or Temporary Spray Adhesive
Stain and/or Paint
Stencil or Paint Brushes or Sponges
and of course Reusable Stencils
Now let’s get started!
- If you’re using wood for a sign you may need to sand it down, then stain or paint it whatever color your would like.
- If you using fabric be sure to place glass cutting board inside t-shirts or bags for stability.
- Next you will need to purchase reusable stencils. I have many designs available on my website and also do custom designs, just contact me on my website or email me at cardsandstitches@gmail.com and I can send you a proof of your design before you purchase.
- Use the painter’s tape to tape your stencil to the sign (or whatever your project is) where you want the design to be placed.
- Use a paper plate and pour out a little paint (a little paint goes a long way so just use a very little). Using the stencil brush dab a little paint on it and with a pouncing motion (up and down) pounce some of the extra paint on the paper plate.
- Once you have this method down, and a little paint on your brush, start painting (pouncing) your sign. Take your time filling in all the stencil with paint.
- Let it dry, then decide if you want a second coat of paint. If you do, apply it with the same method. Let the second coat dry, then remove the stencil.
Your project is finished and beautiful!
Wash your brushes and stencil with soap and water. You’ll be able to make so many great signs, t-shirts and more!!
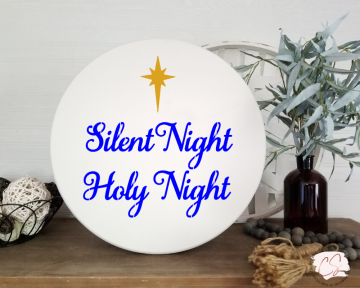
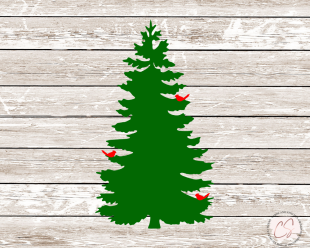
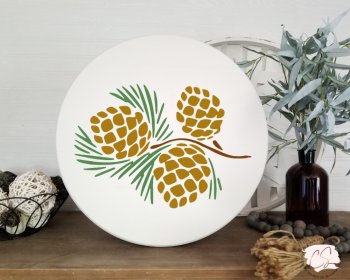
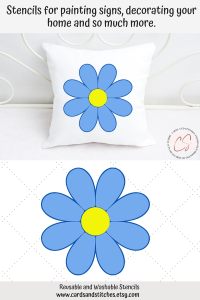
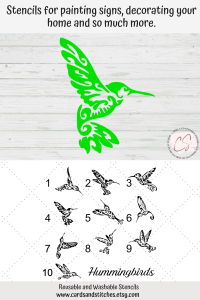
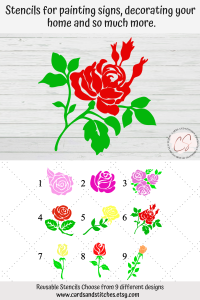
Click here for Wild Animals Reusable Stencils
Click here to Shop Now or on the Images
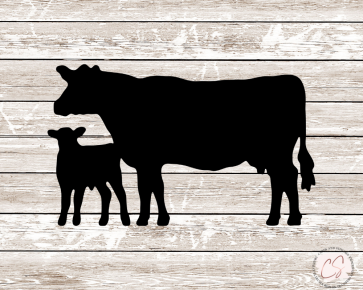
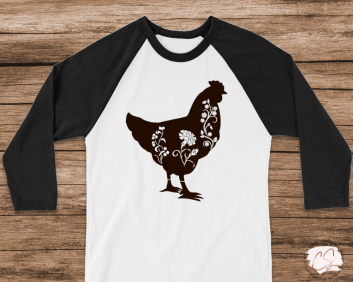
You may also like these Farm Animals Reusable Stencils

Don’t forget Free Shipping on any order $35 or more use coupon code FreeShipping35
I you have any questions, please email me at cardsandstitches@gmail.com or contact me on my website. If you would like a custom reusable stencil, I would be happy to make it for.
Have fun and happy crafting!
Cindy❤
Cards and Stitches